Sooner or later, every parent faces this dilemma: what to do with the kids’ drawing or art creation? When I had an early childhood center, I ran workshops for parents to explain how important it is to keep a record of their children’s development. If you have more than one child, you know that we forget.
This is a lot like taking photos of the first child, but not as many of the second and only capturing the third child on special occasions (I do not even envy those with more than 3 kids). Keeping a record of our children’s progress and development gets harder with every child.
In all the early childhood centers I have managed and directed, I used to send home all the kids’ artwork every week and record it. I created a folder with the kids where their parents could keep all their work to make sure it does not get lost. But the folder filled up so quickly that after a very short time, they had to clear it to allow more room for new artwork.
The Bin – The Artwork Graveyard
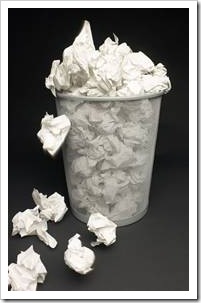 I had the same challenge at home with my own kids. I could not keep all their artwork and had to chuck it in the bin to allow new artwork to be on display. Watching the kids horrified to see their creation in the bin was so hard I worried that throwing it in the bin might damage their enthusiasm and motivation to create.
For years, I looked for sophisticated ways to do it. I would put it on display for a week only and then take it away when the new creation came. Some parents have special places in the house for display. We always had a cork-board (even though some people thought it looked messy) and we put every creation we could on it. If the work of art was 3 dimensional, we would put it in the kitchen or in the living room. The 3D work was the most challenging, because it took so much time to make and it was such a pain to get rid of. In our house, putting the artwork in the kids’ rooms in hope they would naturally understand it cannot last forever never worked, mainly because our kids hardly spend any time in their rooms and do not mind the mess.
When a new creation took over, I would put the “old” one in the bin. That did not always work, because sometimes, the kids found it in the bin and their shocked “How could you to this to me?” expression was so painful for me I started hiding their “expired” work at the bottom of the bin not to break their heart.
Sometimes, it was so hard I asked the kids to do it themselves. Try, it sometimes works.
Obviously, I tried countless times to do this through explaining, but I honestly think, after many failures, that artwork has a sentimental value that logic cannot beat.
Things were very hard for me with my first two kids. The best solution I could find was to keep some of their special work in a folder, which I still keep. You see, there is the heartache of the kids watching their creations thrown to the bin and there is my heartache of not being able to keep all of it. I even laminated some of their artwork to make sure it would survive the weather, normal wear and tear or moving houses.
Luckily, you do not have to go through this heartache anymore.
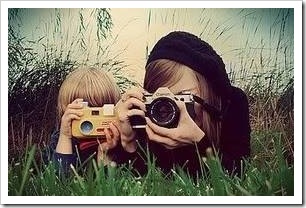 Today, with the wonders of technology, you can just take a digital photo of the work and that will ease the kids’ mind that the bin is not a graveyard for their creation and that you will keep it for years to come – much better than keeping it in a folder or a box that requires lots of space.
I find this tip especially valuable with 3D work and sculptures. By the way, this is not limited to the hearts and souls of young kids but also to older kids. Space for 3D work is even harder to find and keeping a memory of it is much easier to do with a digital camera. If you make sure to write the date on it or have a date stamp in the photo, there you have it – a memory that can last forever.
As a bonus, if you have ever tried to find a lost piece of art in a big pile of stuff, compare that with finding a digital image using your desktop search. As long as you give the photos meaningful names and/or arrange them in folders, finding them and enjoying them again is easy peasy.
Happy parenting,
Ronit
This post is part of the series Handy Family Tips:
- Make Your Bed to Make Your Day
- Handy Family Tips: Dishwasher
- Handy Family Tips: Pre-Marinating
- Handy Family Tips: Kitchen Scissors
- Handy Family Tips: First use date
- Handy Family Tips: Kids’ Artwork
- Handy Family Tips: Keys
- Handy Family Tips: Smelly bins
- Handy Family Tips: Treasure box
- Handy Family Tips: Glass jars
- Handy Family Tips: On time is late
- Handy Family Tip: Early is on time
- Handy Family Tips: Electric toothbrush
- Handy Family Tips: Make a Note
- Handy Family Tips: Laundry day
- Handy Family Tips: How to Peel Avocado
- Handy Family Tips: Bathroom Art
- Handy Family Tips: Easy Healthy Spread
- Handy Family Tips: Wake Up With a Smile
- Handy Family Tips: Color Coded Keys
- Handy Family Tips: Road Trip Games
- Handy Family Tips: How to Get Kids to Eat Vegetables
- Handy Family Tips: What to Do When There is No Shaving Cream?
- How to Control Your Kids’ Mobile Phone Use at Night


